If you want to remodel your home but your estimate is shooting up the sky, painting it yourself will do more than enough for the fresher look.
Is home painting really like a piece of cake? It’s definitely not. I mean, the process of applying paints on the walls is enjoyable, but the phase where you have to prepare for the job can be confusing for a DIYer.
Do not let the initial learning difficulty falter you by looking for solutions, and that’s precisely what this blog post will offer you.
So.. let’s begin from step 1.
1. PLAN
When we talk about DIY home improvement activities that the entire family can enjoy, painting the interior of your home rules over all others.
Once you’ve decided to
How Do I Choose a Paint for My Room?
- If You Like Dark Colors… begin with studying the rooms. For darker shades, you need to check the room’s exposure to natural light and ventilation. Otherwise, the dark colors will make rooms look like cells.
- If You Like Light Colors… lighter shades go well with everything and anything. So you won’t have to pay extra attention there. You just have to pick the undertone and final coating of the
paint very carefully.
- Click A Picture of the Room… if you’re too particular about your interior home painting, taking a photo of the room and editing it with the color you’ve chosen will give you a vision of the final product.
- Once You’re Sure About the
Paint Color… you now have to choose between glossy or flat paints. Glossy paints (easier to clean) do not conceal stains, while flat paints (difficult to clean) are an excellent finish to prevent blemishes from showing on the surface.
How Much Paint Do I Need?
To figure this out, you’ll need to calculate how much space you’ll need to cover. Each wall’s height and width should be measured.
Multiply this number the size by the width to determine the area of a given division.
Calculate the size of gallons you’ll need for each hue based on the service area. Make your best approximation for unusual walls with angled ceilings.
If you’re unsure how to measure it, take the wall’s highest point and multiply it by its width.
Minus the lowest from the highest height, multiply by the breadth, divide by two, then subtract the new value from the actual measurement by width.
You should now have access to the wall area.
Related >> When Remodeling, When Do You Paint?
How Much Money Would I Need For Home Interior Painting?
The answer to this question depends greatly on the quality and quantity of the paints you need.
You’ve already learned how to calculate the paints, so just looking at the price from your local
We’ve talked about the three main questions that you’ll have to answer once you’ve planned to
2. Prepare
The preparation for the interior paints begins with removing all the furniture in the room, so there are no
● Empty the Painting Room
If you don’t have many rooms at hand to shift the furniture from painting rooms, rent a garage or a spare room somewhere to keep your things safe while the interior home painting is on the run.
● Take off the Wallpaper or Existing Paint
For the wall painting at home, you’ll have to remove the existing
The solvent will help loosen up the adhesive glue, and the wallpapers will come off quickly.
As for
One thing to consider here is to judge the situation of the
● Smoothen the Service Area
The last step to prepare for painting your home is to smoothen the walls or the ceiling before you apply the coats of
If there are any holes or bumps in the wall or ceiling, you’ll have to fill them or sand them out of the wall to get rid of the bumps.
This will help you apply an even layer of
Now is the time to process home interior painting from scratch as you’re done with the preparation.
3. Process
To
● Prime the Walls
Priming the wall means applying a coat of primer (usually white) for the
We prime our borders, especially when the final coat of the
Besides, you can tint the primer in the case where you’re painting over dark shades. The tint takes out a perfect shade of any color.
● Use a Painter’s Tape
A painter’s tape is a friendly tool to aid you to
● Cover the Floor
Painting can spatter the
We commonly use plastic, but it’s not as durable as the canvas fabric sheet. When the
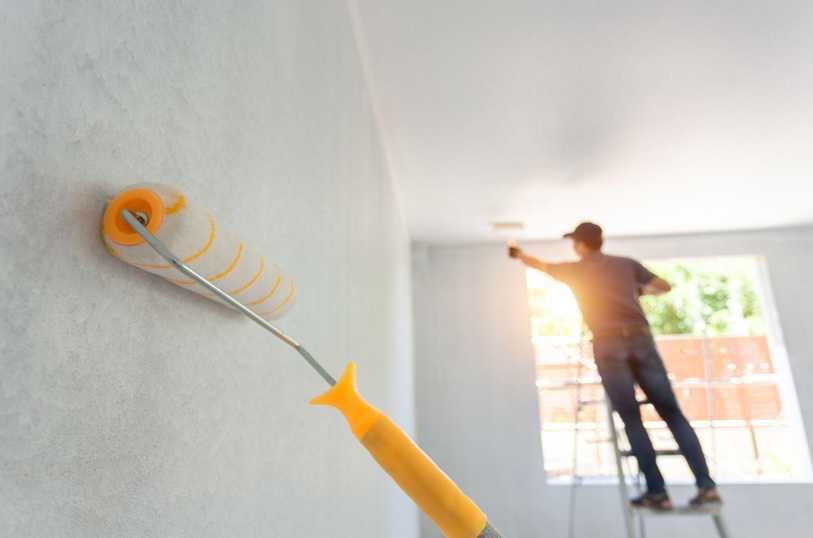
● Grab a Brush
We’ve come to the final step: painting. For the corners or edges, you’ll need to grab a slimmer brush with comparatively thinner hair, and you’re ready to do the job perfectly.
Here, a handy tip is to take care of the edges first and then move to the middle of the walls for a fun painting time with a rolling brush.
Once you’re done, remove the canvas sheet, clean the room and celebrate your victory!
Conclusion
Painting a house yourself is money-saving and energizing. You get a rush of dopamine when you see the fruit of your efforts.
Although we haven’t talked particularly about interior painting shades, it’s important. You must also give some time to pick the right shades with good research to pick out
You can get help from professional home painting services, but doing things yourself is the best option if you are on a tight budget.
When you’re doing something with your heart, you will enjoy it and learn through it. So, when are you taking up the challenge?
