Skipping wall prep is the single biggest reason paint jobs fail early — peeling, flaking, and visible flaws almost always trace back to what happened (or didn't) before the roller ever touched the wall. Clean, repair, sand, and prime in that order, and a paint job that would otherwise last a year or two can last five to seven instead.
Here's the full prep sequence, in the order it actually needs to happen.
- Clean the Walls
- Repair Holes and Cracks
- Sand Rough Spots and Old Trim
- Tape and Protect
- Prime When You Need To (and When You Don't)
Clean the Walls
Dust, cooking grease, and general grime keep paint from bonding properly, no matter how good the paint is. Wipe walls down with a mix of warm water and a mild dish soap or a dedicated wall-cleaning solution, rinse with a damp cloth, and let the walls dry fully — usually a few hours — before moving on. Kitchens and bathrooms need this step the most, since grease and soap residue build up even on walls that look clean.
Repair Holes and Cracks
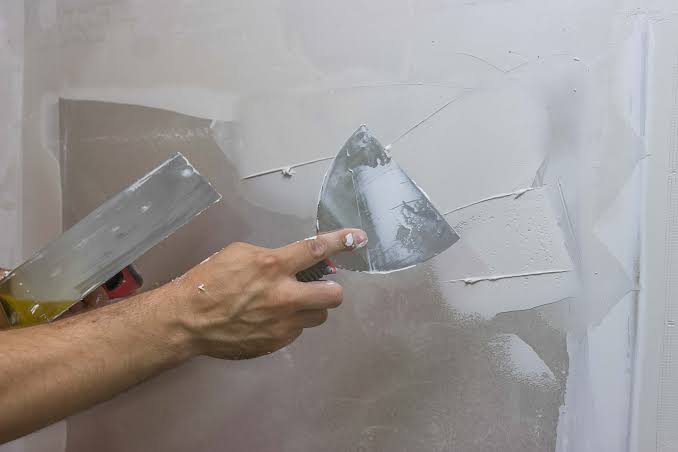
Fill nail holes and small dents with a lightweight spackle, applied with a putty knife and scraped flush with the wall. For cracks or larger holes, a mesh patch plus joint compound gives a stronger, flatter repair than spackle alone. Let any filler cure fully per the product's label — usually a few hours to overnight — before sanding, since sanding wet filler just smears it instead of smoothing it.
Sand Rough Spots and Old Trim
Once repairs are dry, sand patched areas smooth with fine-grit sandpaper (220-grit is a safe default) until you can't feel a ridge where the patch meets the original wall. If you're painting over glossy old trim or a glossy wall finish, a light scuff-sand across the whole surface helps new paint grip instead of beading up or peeling later. Wipe away sanding dust with a slightly damp cloth or a tack cloth before you paint — dust trapped under paint shows up as a gritty, uneven finish.
Tape and Protect
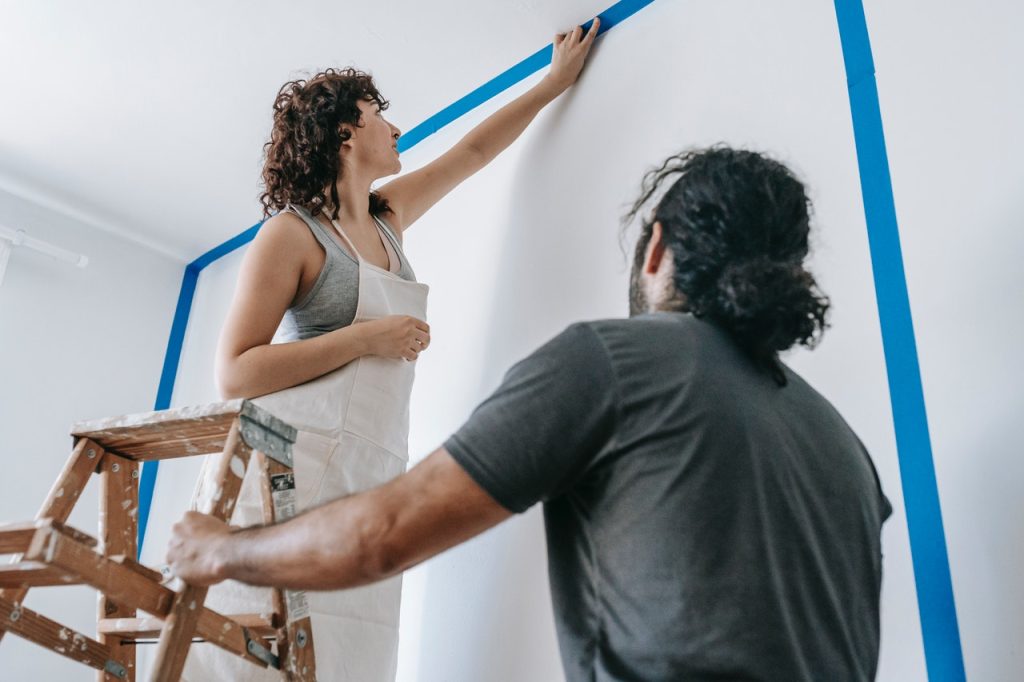
Run painter's tape along trim, ceiling lines, and outlet covers, pressing it down firmly so paint can't bleed underneath. Lay drop cloths over flooring and furniture you can't move out of the room. This step feels slow in the moment, but it saves far more time than touching up drips and smudges after the fact.
Prime When You Need To (and When You Don't)
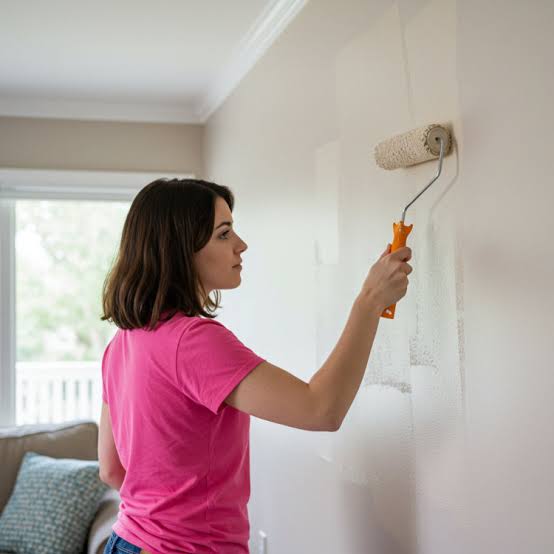
You need a primer coat when you're painting over bare drywall or fresh patchwork, covering a stain (water, smoke, or marker) that could bleed through paint, going from a dark color to a much lighter one, or switching between a glossy and matte finish. If you're simply repainting a clean, previously-painted wall in a similar color, a quality paint-and-primer-in-one product can skip the separate priming step.
Once your walls are prepped, get your exact paint quantity with the paint calculator, and pick the right applicator for the job in Roller, Brush, or Sprayer? Pick the Right Tool for Your Wall.