Tiles have been a trend and a timeless bathroom flooring item since the 90s. Initially, they were used in public buildings, but gradually, they’ve reached even our bathrooms, the most personal space ever!
A bathroom tile comes in a wide range of colors and textures. You can even customize the material that these tiles arrive in, from marble tiles to glass tiles.
So, remodeling or re-flooring your bathroom can be adventurous where you have to go through catalogs to catalogs to pick out the best suitable for your bathroom.
If you don’t want to get into all that hassle, read this blog and let me explain to you all that you need to know about floor tiles for bathrooms.
Top 4 Bathroom Floor Tiles
As I said, there are dozens of bathroom floor tile ideas that you can give a follow-up for renovation. Different textures and sizes of tiles determine their cost and upkeep.
If you’re tight on a budget, you can choose the bathroom floor tiles only and your place will instantly look updated and refreshing.
With that, let us get to the point i.e., the list of tiles for bathrooms.
1. Marble Tiles
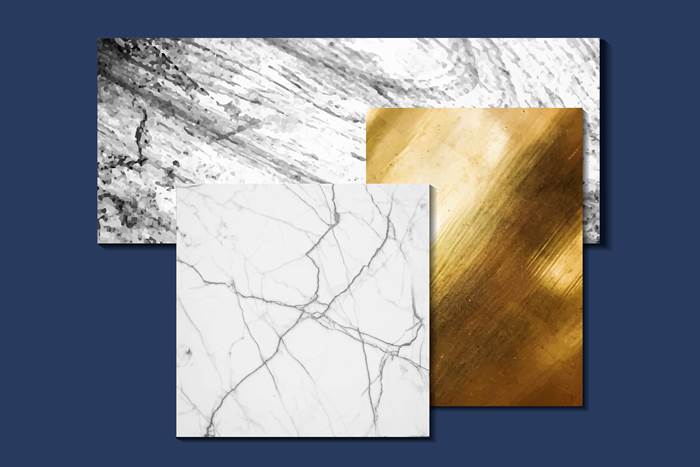
Marble tiles are commonly expensive but elegant and luxurious. If you have got a thing for classy, marble tiles will not disappoint you in any way.
Why did I mention the ‘cost’? Because marble tiles are all natural. It’s the earth’s heat that colors or textures them. Isn’t it so fascinating to know?
Here are a few common marble tiles that you can easily buy and the floor.
- Carrara
- Statuary
- Calacutta
- Crema Marfil
Marble tiles are durable. If installed properly, they can stop the water on the bathroom floor from trickling inside.
These ones also run for a longer time as they are reliable, and you won’t have to go for the flooring renovation every decade.
A few drawbacks include:
- Continuous water exposure (for years) to the marble floor can cause discoloration.
- They can be slippery if the water is not wiped out completely.
- They are high maintenance. You’ll have to clean them regularly to avoid permanent stains or scratches.
2. Ceramic Tiles
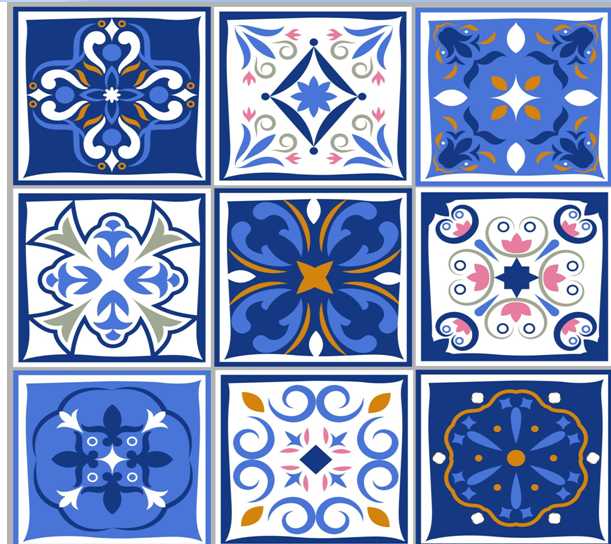
Ceramic tiles are a counterpart of marble tiles. They are just a perfect copy that’s decent-looking, shiny, and affordable.
The materials that provide us with a perfect ceramic tile include clay, sand, and other material, and then it’s mixed to get a shape.
For example, bathroom 12×24 tile of ceramic marble is then heated and prepared for installation.
The ceramic tiles are durable, not as durable as marble, but enough to pass decades. They are also scratch-proof.
Besides, ceramic tiles are perfect for bathrooms where there is constant use. And, the main reason why people use ceramic tiles in homes is that they’re extremely easy to clean.
Drawbacks?
The permanence. (Once they’re set as a bathroom tile, you’ll have to redo the floor from scratch if you want a new floor because they don’t come off).
3. Porcelain Tile
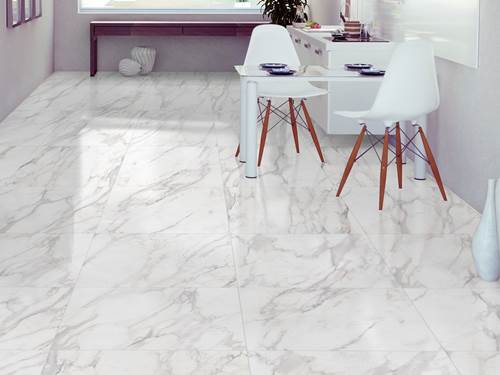
Porcelain and ceramic bathroom floor tiles are usually used interchangeably. God knows for what reasons because they are obviously different but relatable since porcelain is one of the types of ceramic tile.
Porcelain tiles are prepared in a kiln at high degrees to make them resistant to moisture and breakage.
They are your answer if you want a tile that contributes grace to your place. They are among the most affordable tiles for the bathroom.
Porcelain tiles are waterproof, heat resilient, and non-slippery if they’re hone finished.
Porcelain tiles don’t need proper cleaning every once a day because they are less porous, which protects the grout from mildew or dirt.
They come in textured, plain, leather, animal print, matte, and glossed forms, so you have better options to judge your renovation needs.
4. Hexagon Tiles
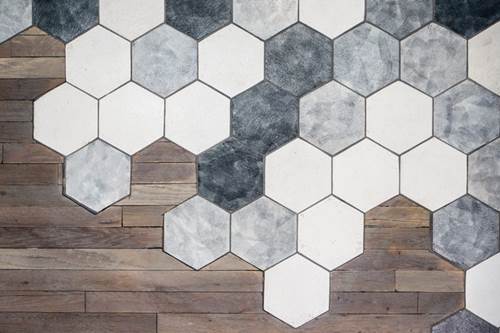
Hex tiles aren’t new to the market of tiles. They date back to the 1900s. Just like other shapes of bathroom tile flooring, hexagon tiles are also used in kitchens, bedrooms, and bathrooms.
They are chic and classic at the same time, and I think that’s what makes them stand apart from any other bathroom tiles.
There are 2 main types of hexagon tiles.
- Elongated
- Picket
When you’re going for hex tiles, you’re in good luck because besides the shape, and you can change anything from color to material to shine to matte. The flexibility is endless!
These are the main 4 types that people love for their bathroom flooring, and I believe they are totally right.
I love the customization options that we have here. Let’s see how we can install the tiles by ourselves.
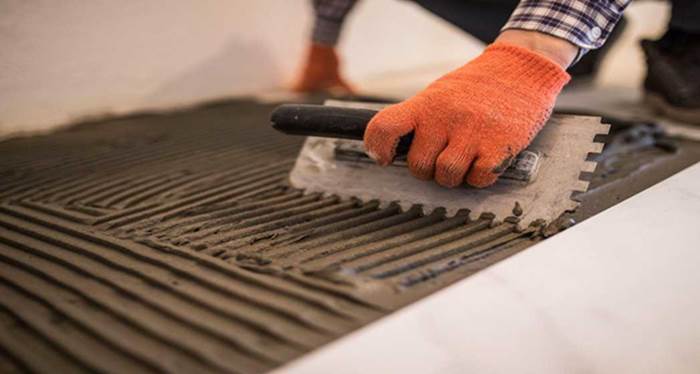
How to Tile a Bathroom Floor? Learn About DIY Installation!
It’s good that you’re taking the tile installation into your hands. You’ll not only enjoy the process but also save a good amount of money on the way.
We will follow through with the tile installation process in steps, but I’d recommend you watch a good video along with this guide to have a clear roadmap.
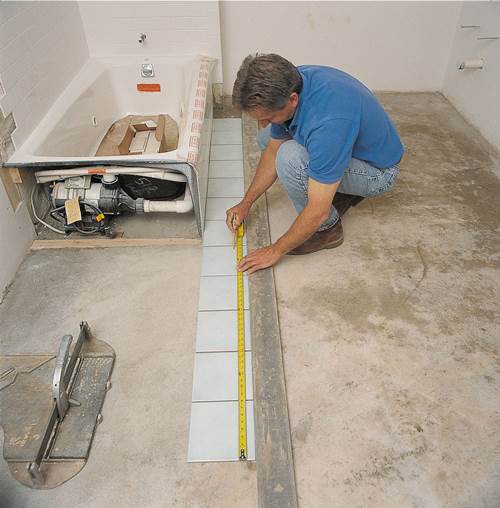
Step 1: Measure the Field
Once you have got the space to start working, the first step is to measure your floor so you can get yourself an amazingly tiled bathroom.
Mark the starting point. After that, remove existing flooring and get your backer board and mortars.
Step 2: Have Sample Tiles
Pick around 4 bathroom tiles of any style and material. For instance, you’ve got a hexagon.
Place a couple of hexagons on the floor in sequence to get an accurate number for your floor’s ‘how many tiles do I need?’ question.
Step 3: Begin with Setting the Base
To start setting the tile floor, you’ll need a backer board or wonder board. Stick it on the floor with normal pressure.
When you feel it’s fit, bring your mortar and turn it into a thin paste. Spread a thin layer on the board and start placing tiles one by one.
Step 4: Polish with Grout
Get the grout solution after the tiles are fixed on the floor. Use the grout to fill in the tiles if there are any spaces left in between.
This will give your bathroom tile a good finish and protect the subfloor from damage due to seeping water.
Step 5: Let it Dry
Once you’re done with the last step of grouting tiles, let the floor settle for a day. When it’s dried out, you can clean, walk, and take showers without worrying about anything coming off.
Conclusion
Before you put your floor remodeling to action, please make sure the tile’s material, texture, or color goes well with your bathroom theme and fixtures because once the tiles are fixed, turning back will be pricey.
Making a wise purchase also counts. You know the common types of bathroom tiles, but there’s hardly any stop here. I mean… you must also explore more until you find your ‘ideal’ flooring type.
As we conclude the post, I’d like to add that all these tiles that we talked about are also used for wall tiling, which is amazing!
So, what do you think about tiling your bathroom floor? If you haven’t done it in 7 to 8 years, it’s high time to give it some thought.
